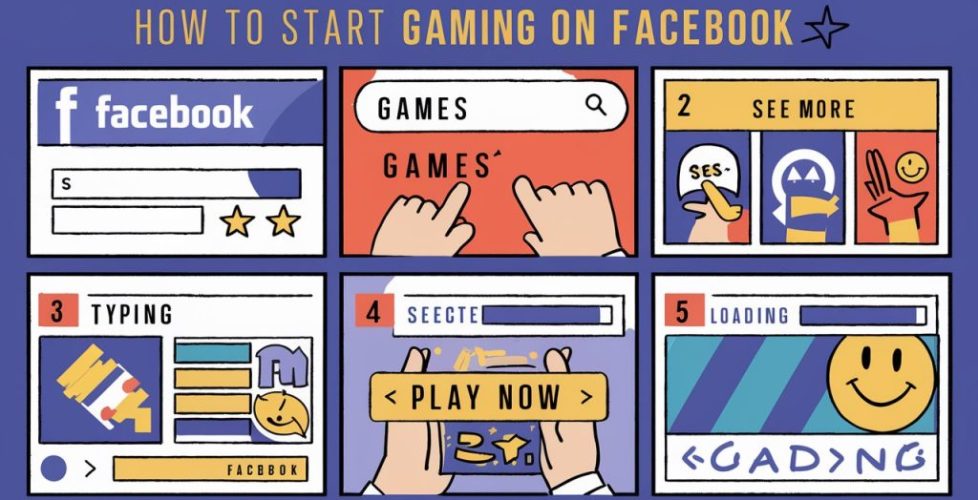
How to Start a gaming on Facebook
Starting a gaming presence on Facebook is a great way to connect with other gamers, share your gaming experiences, and build a community. Here’s a step-by-step guide to get you started:
1. Create a Facebook Gaming Page
-
Go to profile ID
-
Click “Create New Page”
-
Choose a page type (e.g., “Gaming Video Creator” or “Gamer”)
-
Enter a page name and profile picture
2. Set Up Your Page
-
Add a cover photo and bio description
-
Choose a page template (e.g., “Gaming” or “Streaming”)
-
Customize your page settings (e.g., privacy, notifications)
3. Connect Your Gaming Accounts
-
Link your gaming accounts (e.g., Xbox, PlayStation, Steam) to your Facebook account
-
Allow Facebook to access your gaming data (e.g., achievements, gameplay)
4. Start Streaming or Sharing Gaming Content
-
Use Facebook Gaming’s built-in streaming feature or share pre-recorded videos
-
Share your gaming highlights, walkthroughs, or reviews
-
Engage with your audience through live comments and chat
5. Join Facebook Gaming Communities
-
Search for and join gaming groups or communities related to your favorite games
-
Participate in discussions, share tips, and connect with other gamers
6. Promote Your Page
-
Invite friends and fellow gamers to like and follow your page
-
Share your gaming content on other social media platforms
-
Collaborate with other gamers or streaming influencers
Tips and Variations
-
Use Facebook’s built-in features like “Level Up” to grow your audience
-
Share your gaming setup, hardware, and accessories
-
Host giveaways, contests, or Q&A sessions to engage your audience
Remember to always follow Facebook’s community standards and guidelines when creating and promoting your gaming content. Good luck, and have fun!
